 www.gazebocreations.com ```html
 Introduction: Building a DIY Shed with Sliding Door Track This guide will walk you through the process of constructing a small shed with a sliding door, perfect for storing garden tools or equipment. We'll cover everything from planning and materials to step-by-step construction and installation of the sliding door track. This project requires intermediate DIY skills and some basic carpentry tools.
Step 1: Planning and Design Before you start building, carefully plan the size and layout of your shed. Consider what you'll be storing and how much space you'll need. A good size for a small shed is typically 8ft x 6ft or 6ft x 4ft. Sketch your design on paper, including dimensions, door placement, and window locations. This will help you visualize the final product and estimate the materials needed. Consider the local building codes and regulations before you start. Check if you need a permit for building a shed on your property.
Step 2: Materials and Tools Lumber: Pressure-treated lumber for the base frame, studs, and sheathing. Untreated lumber can be used for interior framing. Sheathing: Plywood or OSB for the walls and roof. Roofing Materials: Asphalt shingles, metal roofing, or rolled roofing. Sliding Door Hardware: Sliding door track, rollers, handles, and latch. Choose a set rated for the weight of your door. Fasteners: Nails, screws, and construction adhesive. Tools: Saw (circular saw, miter saw), drill, level, measuring tape, hammer, square, safety glasses, and work gloves.
Step 3: Building the Base Frame Cut the pressure-treated lumber to the dimensions of your planned shed. Assemble the base frame using screws or nails, ensuring it's square and level. Use corner braces for added stability. The frame should be raised slightly off the ground to prevent moisture damage. Consider using concrete blocks or a gravel base for a level foundation.
Step 4: Framing the Walls Cut the lumber for the wall studs, top plates, and bottom plates. The studs should be spaced 16 inches on center (OC) for optimal support. Assemble the wall frames on the ground and then raise them into position. Secure the walls to the base frame using screws or nails. Make sure the walls are plumb and square before fastening them permanently. Don't forget to frame in the door opening.
Step 5: Installing the Sheathing Attach the plywood or OSB sheathing to the wall frames using nails or screws. Overlap the seams slightly for added strength. Make sure to cut out the door opening in the sheathing. This will provide structural support and a surface for attaching the siding or roofing.
Step 6: Building the Roof Construct the roof rafters according to your design. A simple shed roof is easy to build, with rafters sloping from one side to the other. Attach the rafters to the top plates of the walls. Cover the rafters with sheathing.
Step 7: Roofing Install the roofing material of your choice. Follow the manufacturer's instructions for proper installation. Overlap the seams and use roofing nails to secure the material. Proper roofing is essential to keep your shed dry.
Step 8: Building the Sliding Door Cut lumber to the desired size for your sliding door frame. Assemble the frame using screws or nails. Attach sheathing to the frame to create the door panel. Sand the edges of the door for smooth operation.
Step 9: Installing the Sliding Door Track Attach the sliding door track to the wall above the door opening according to the manufacturer's instructions. Make sure the track is level and securely fastened. Install the rollers on the door and hang the door on the track. Adjust the rollers as needed to ensure smooth and even movement. Install door guides on the floor to prevent the door from swinging.
Step 10: Finishing Touches Install the door handle and latch. Add any desired trim or siding to the exterior of the shed. Paint or stain the shed to protect it from the elements. You may also want to add shelves or other storage solutions to the interior.
Conclusion: Enjoy Your New Shed! You've now built your own DIY shed with a sliding door track. This project provides valuable storage space and enhances the functionality of your property. Remember to maintain your shed regularly to ensure it lasts for years to come. Inspect the roof and walls periodically for any signs of damage or wear.
``` Cedar Lap Siding Deluxe Estate Sheds
www.gazebocreations.com Cedar Lap Siding Saltbox Sheds
 www.gazebocreations.com
 Cedar Shed Kits, Cedar Garden & Storage Sheds
 cedarshed.com
  www.freeimages.com Here's a step-by-step DIY post on how to build a simple birdhouse:
  unsplash.com
  www.apartmentguide.com
 ![The 14 best storage units in toronto [2022]](https://i0.wp.com/torontoblogs.ca/wp-content/uploads/2022/04/surface-image-cart-with-cardboard-boxes-empty-hall-self-storage-facility-copy-space.jpg) torontoblogs.ca
torontoblogs.ca  barbaraiweins.com
 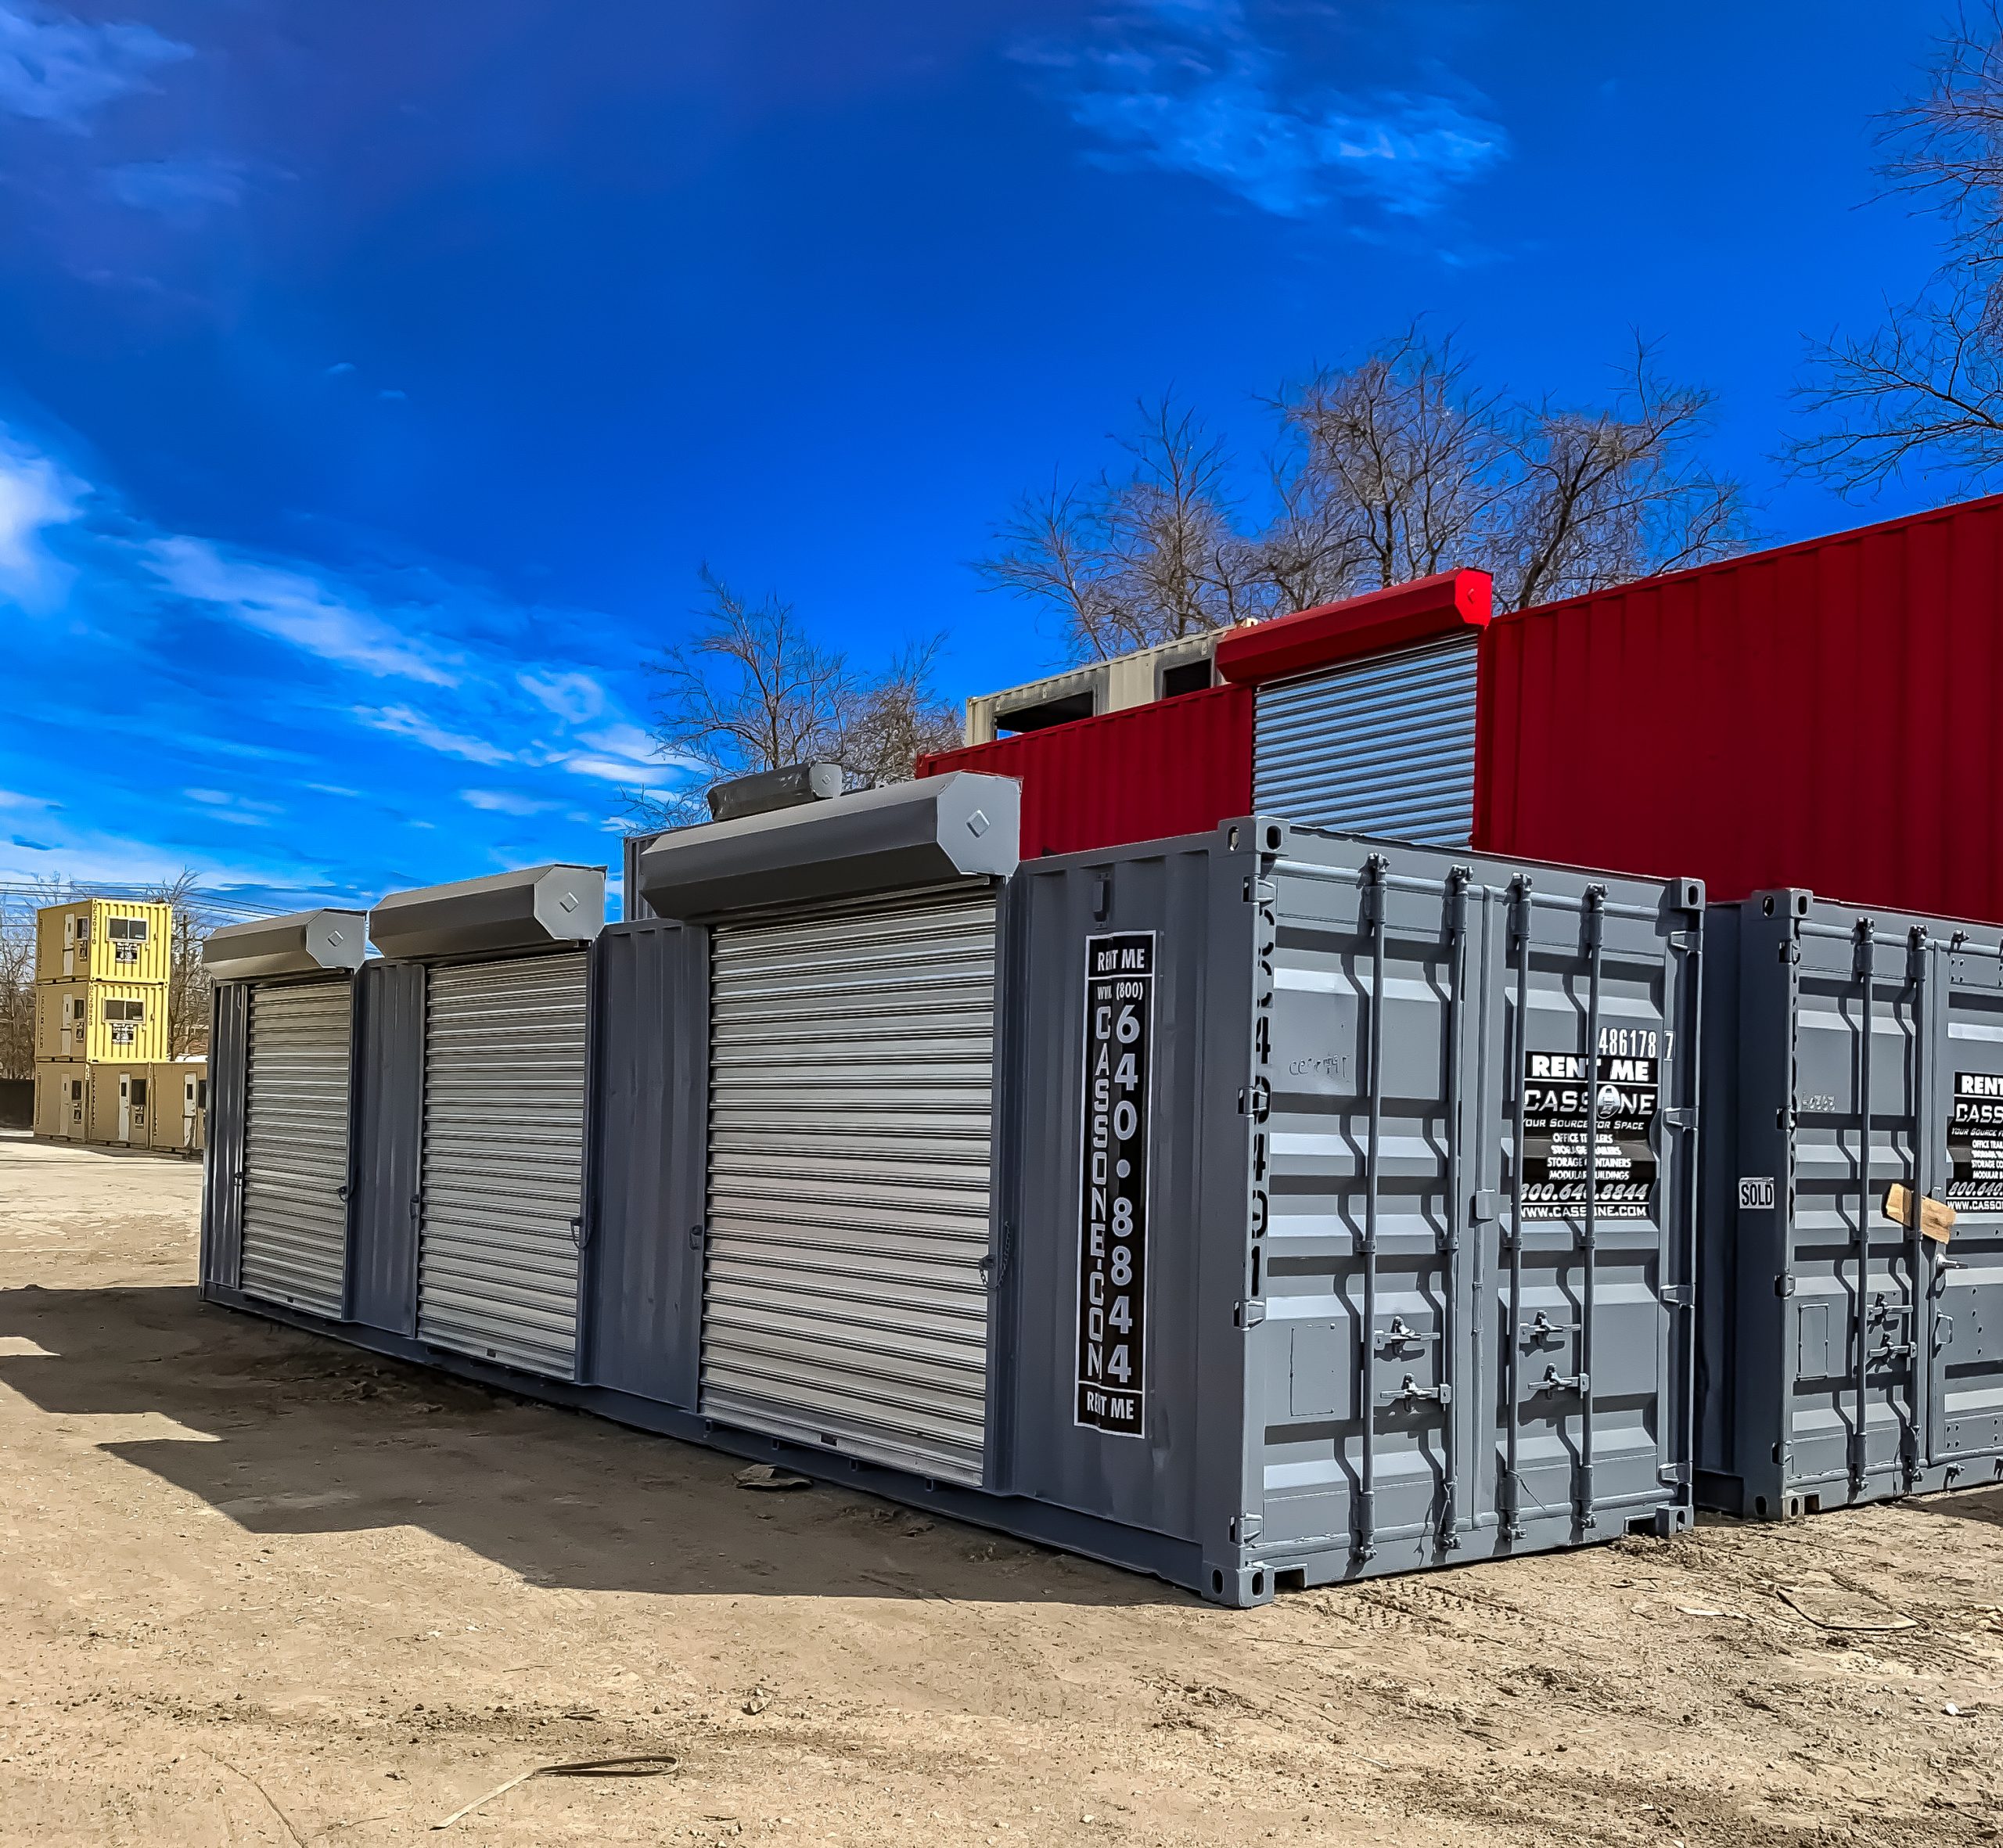 www.cassone.com
  unsplash.com
  www.addaspace.com ```html
 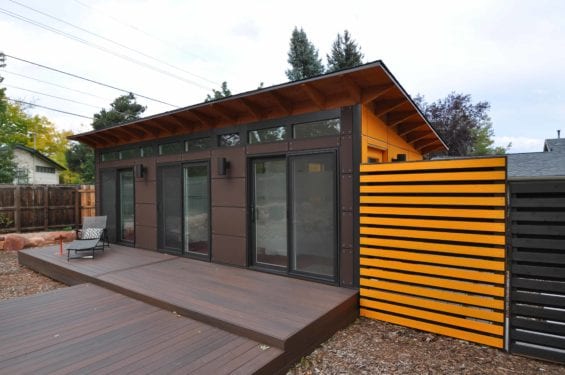 www.studio-shed.com
  www.addaspace.com
  www.freeimages.com
  www.mineralienatlas.de
  facts.net
  woodarchivist.com ```html
  woodarchivist.com
  woodarchivist.com
  humanidades.com
  worksheeteiturgassgbv.z14.web.core.windows.net
  en.wikipedia.org
  www.britannica.com ```html
  www.teaforturmeric.com
  www.tasteandtellblog.com
  homespecially.com ```html
 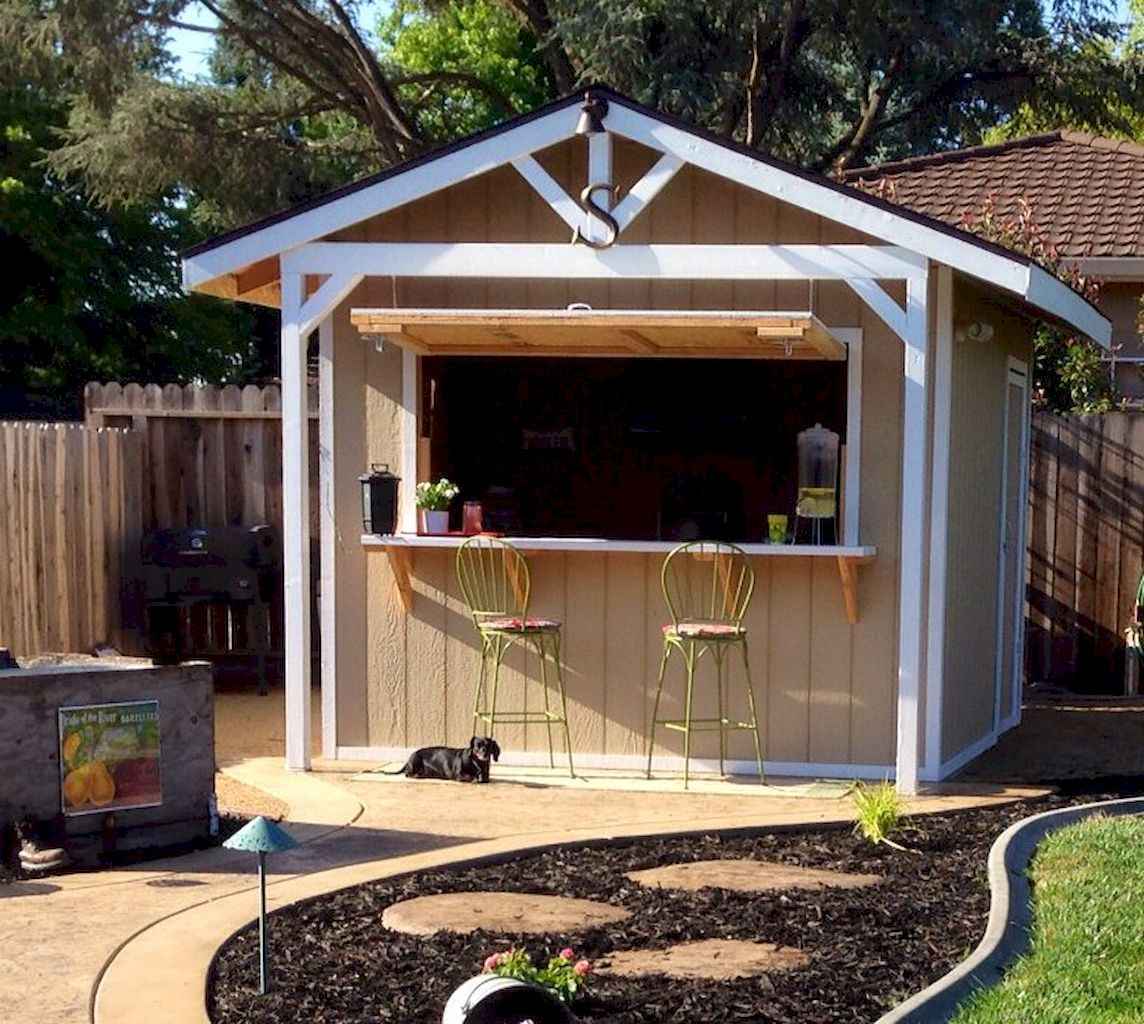 homespecially.com
  homespecially.com
  www.homebazaar.com
  www.walmart.com
  www.homelandsskyline.lk
  kumparan.com Here's a step-by-step guide on building a simple shed roof structure, suitable for a small storage shed or similar purpose.
  thebigtin.blogspot.com
  www.ikea.com