
 homespecially.com ```html
 Opening: Declutter Your Life with a DIY Backyard Storage Shed
Ready to take control of your backyard chaos? Building a DIY storage shed can be a rewarding project that adds value to your property and provides much-needed space. This step-by-step guide will walk you through the process, from planning to completion. Let's get started!
Step 1: Planning and Preparation
Before you pick up a hammer, careful planning is crucial. This involves defining your needs, understanding local regulations, and developing a detailed design.
- Define Your Storage Needs: What will you be storing in the shed? Garden tools, lawnmowers, bikes, or something else? The size and layout of your shed will depend on its intended use.
- Check Local Regulations and Permits: Contact your local building department to determine if you need a permit to build a shed on your property. They'll have specific requirements regarding size, setbacks, and construction methods. Ignoring these regulations can lead to fines or even the requirement to tear down your shed.
- Develop a Detailed Design: Create a detailed plan that includes dimensions, materials list, and construction steps. There are many free shed plans available online, or you can design your own. Consider factors like door placement, window placement (if any), and roof pitch. Ensure your design complies with any local building codes.
- Choose a Location: Select a flat, well-drained area in your backyard. Consider accessibility, proximity to your house, and potential for future expansion. Avoid areas prone to flooding or with underground utilities.
Step 2: Gather Your Materials and Tools
With a plan in hand, gather all the necessary materials and tools. This will make the building process much smoother.
- Materials: This typically includes lumber for the frame, sheathing for the walls and roof (like plywood or OSB), roofing materials (shingles, metal roofing), siding (wood, vinyl, or metal), concrete mix for the foundation (if using), fasteners (nails, screws), doors, windows (if any), and trim. Consult your design plan for specific quantities and dimensions.
- Tools: You'll need basic carpentry tools, including a circular saw, miter saw, drill/driver, level, square, measuring tape, hammer, safety glasses, work gloves, and a ladder. Depending on the roofing material, you might need a roofing nailer. Consider renting or borrowing tools you don't already own.
- Safety Equipment: Always prioritize safety. Wear safety glasses, work gloves, and appropriate clothing. If you're using power tools, wear hearing protection.
Step 3: Building the Foundation
A solid foundation is essential for a durable and long-lasting shed. There are several foundation options, including a concrete slab, gravel pad, or wooden skids. This guide will focus on a simple gravel pad foundation.
- Prepare the Ground: Remove any vegetation, topsoil, and debris from the shed area. Level the ground using a shovel and rake.
- Install a Border (Optional): You can use treated lumber or concrete blocks to create a border around the perimeter of the shed. This will help contain the gravel.
- Add Gravel: Spread a layer of gravel (at least 4-6 inches thick) over the prepared area. Use a rake to distribute the gravel evenly and compact it with a hand tamper or plate compactor. A well-compacted gravel base provides excellent drainage and stability.
Step 4: Framing the Walls
The wall framing provides the structural support for your shed.
- Build the Wall Frames: Cut the lumber according to your plan and assemble the wall frames using nails or screws. Ensure the frames are square and plumb. Include framing for door and window openings.
- Raise and Secure the Walls: With a helper (or two!), raise the wall frames into position on the foundation. Use temporary bracing to hold the walls in place while you secure them to each other.
- Sheathe the Walls: Cover the exterior of the wall frames with sheathing (plywood or OSB). This adds strength and provides a surface for attaching siding. Secure the sheathing with nails or screws.
Step 5: Framing the Roof
The roof protects your shed from the elements.
- Build Rafters or Trusses: Depending on the complexity of your roof design, you can either build rafters individually or use pre-fabricated trusses. Follow your plan carefully to ensure proper angles and dimensions.
- Install the Rafters or Trusses: Secure the rafters or trusses to the top of the wall frames. Ensure they are evenly spaced and properly aligned.
- Sheathe the Roof: Cover the rafters or trusses with sheathing.
Step 6: Installing Roofing and Siding
This step protects the shed from the elements and gives it its final appearance.
- Install Roofing Underlayment: Apply a layer of roofing underlayment (felt paper or synthetic underlayment) over the sheathing to provide an extra layer of protection against moisture.
- Install Roofing Material: Install your chosen roofing material (shingles, metal roofing) according to the manufacturer's instructions.
- Install Siding: Attach the siding to the wall sheathing. Overlap the siding properly and secure it with nails or screws.
Step 7: Installing Doors and Windows
Doors and windows provide access and ventilation.
- Install Door Frame: Ensure the door frame is plumb and square before securing it to the wall framing.
- Hang the Door: Hang the door in the frame and adjust the hinges as needed to ensure a smooth opening and closing. Install a door handle and lock.
- Install Windows (if any): Install the windows in their frames and seal around the edges with caulk.
Step 8: Finishing Touches
The final details add polish and functionality to your shed.
- Install Trim: Install trim around the doors, windows, and corners of the shed to conceal seams and add a finished look.
- Paint or Stain: Paint or stain the shed to protect the wood and enhance its appearance.
- Add Shelving and Storage: Install shelves, hooks, and other storage solutions to maximize the use of space inside the shed.
Conclusion: Enjoy Your New Storage Space
Congratulations! You've successfully built your own backyard storage shed. Now you can organize your tools, equipment, and outdoor gear, creating a cleaner and more functional backyard. Enjoy your new storage space!
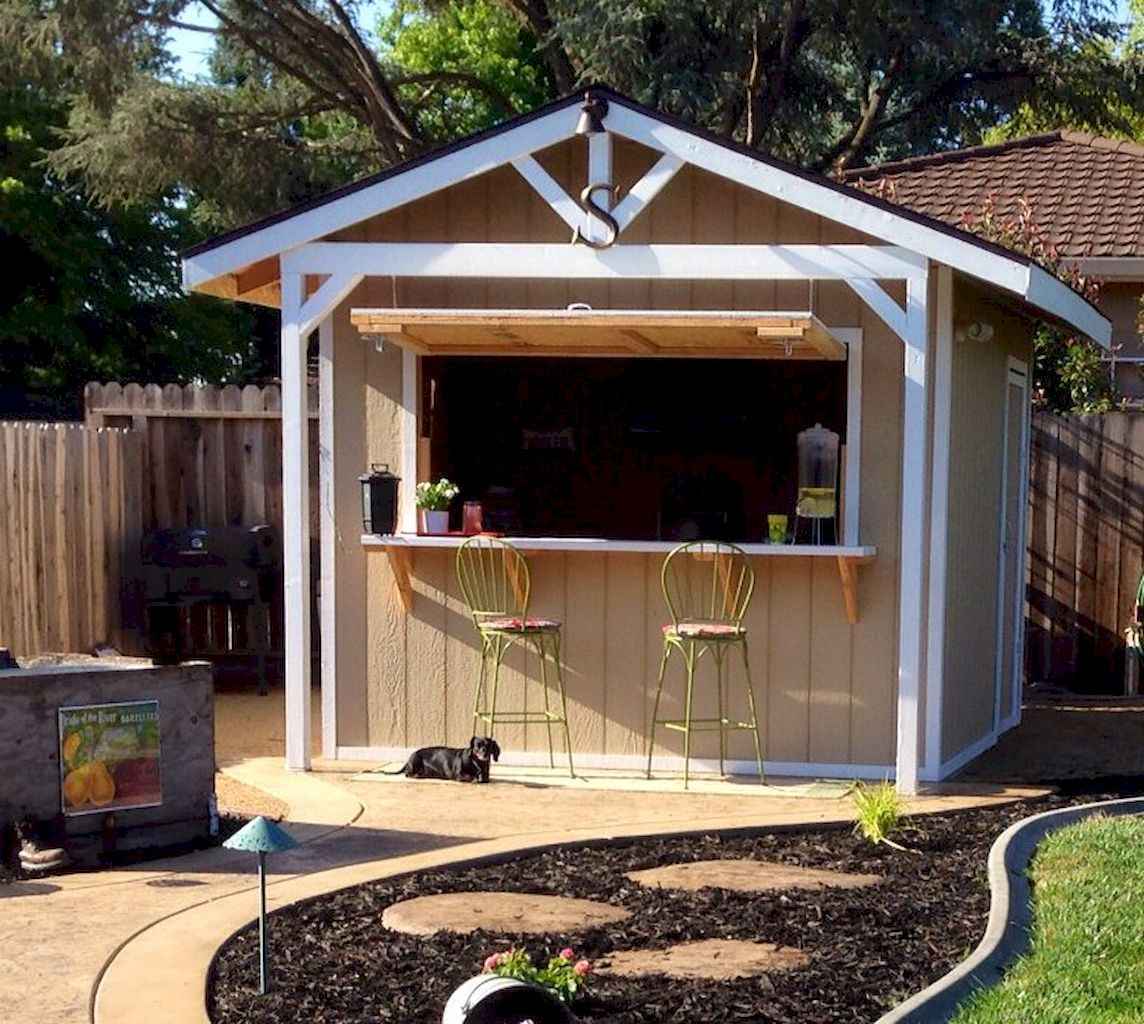
``` Incredible Backyard Storage Shed Makeover Design Ideas (33)
 homespecially.com
 Incredible Backyard Storage Shed Makeover Design Ideas (1)
 homespecially.com
 Incredible Backyard Storage Shed Makeover Design Ideas (14)
homespecially.com

0 komentar:
Posting Komentar